
Last updated November 20, 2026
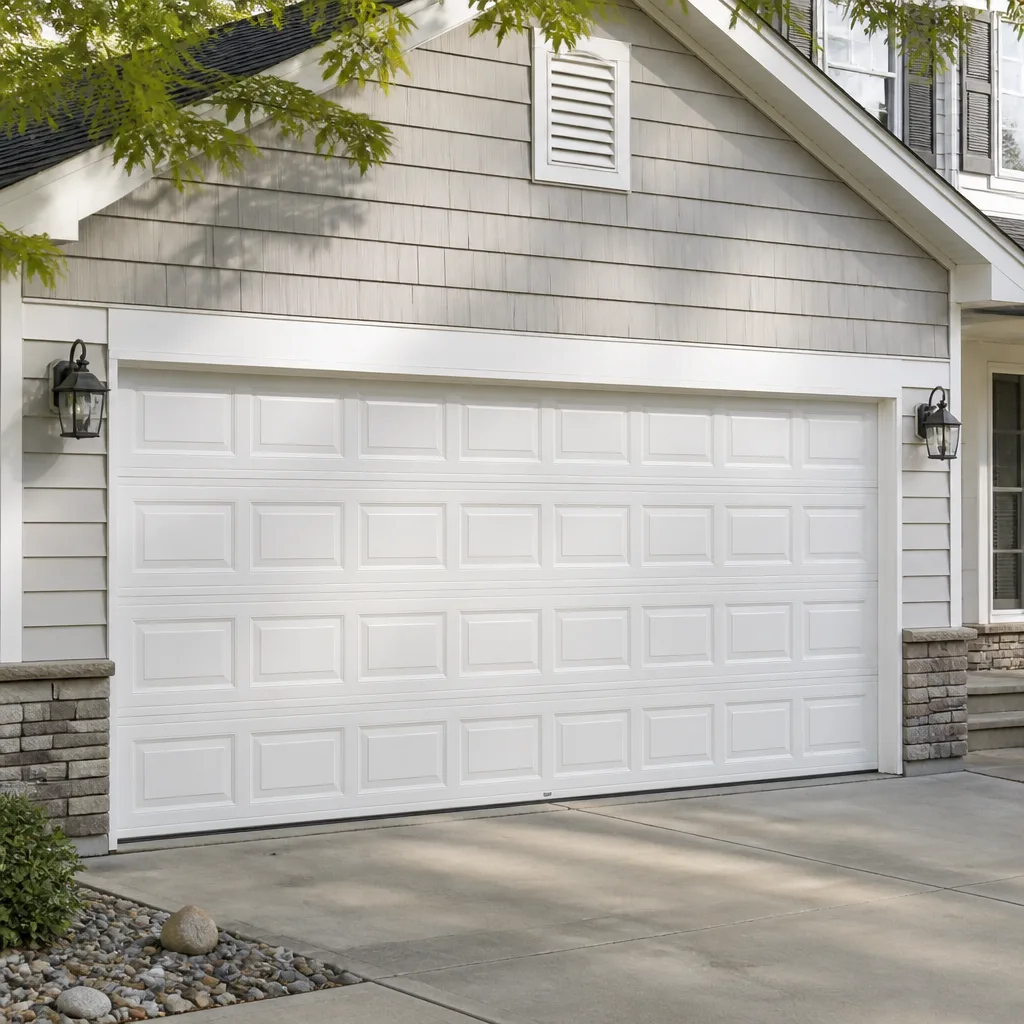 Raised-panel steel
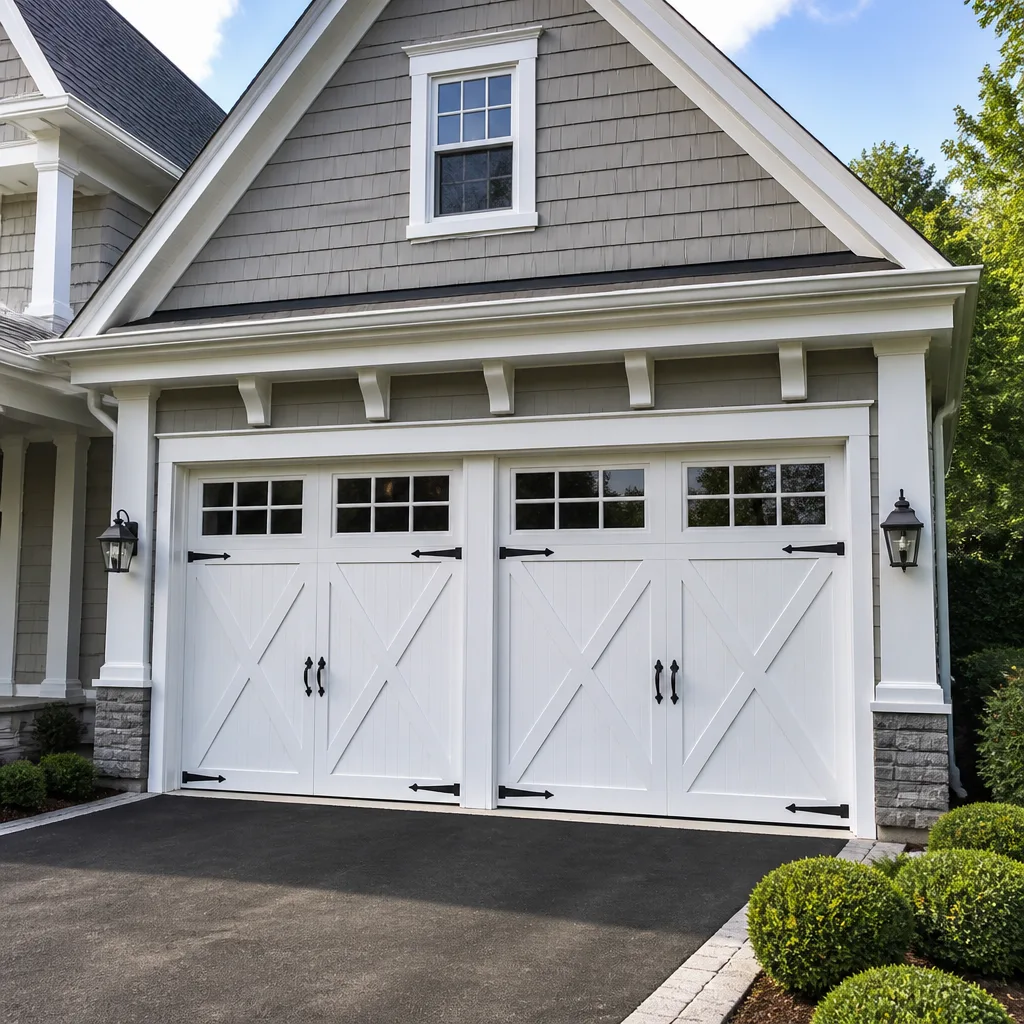 Carriage house
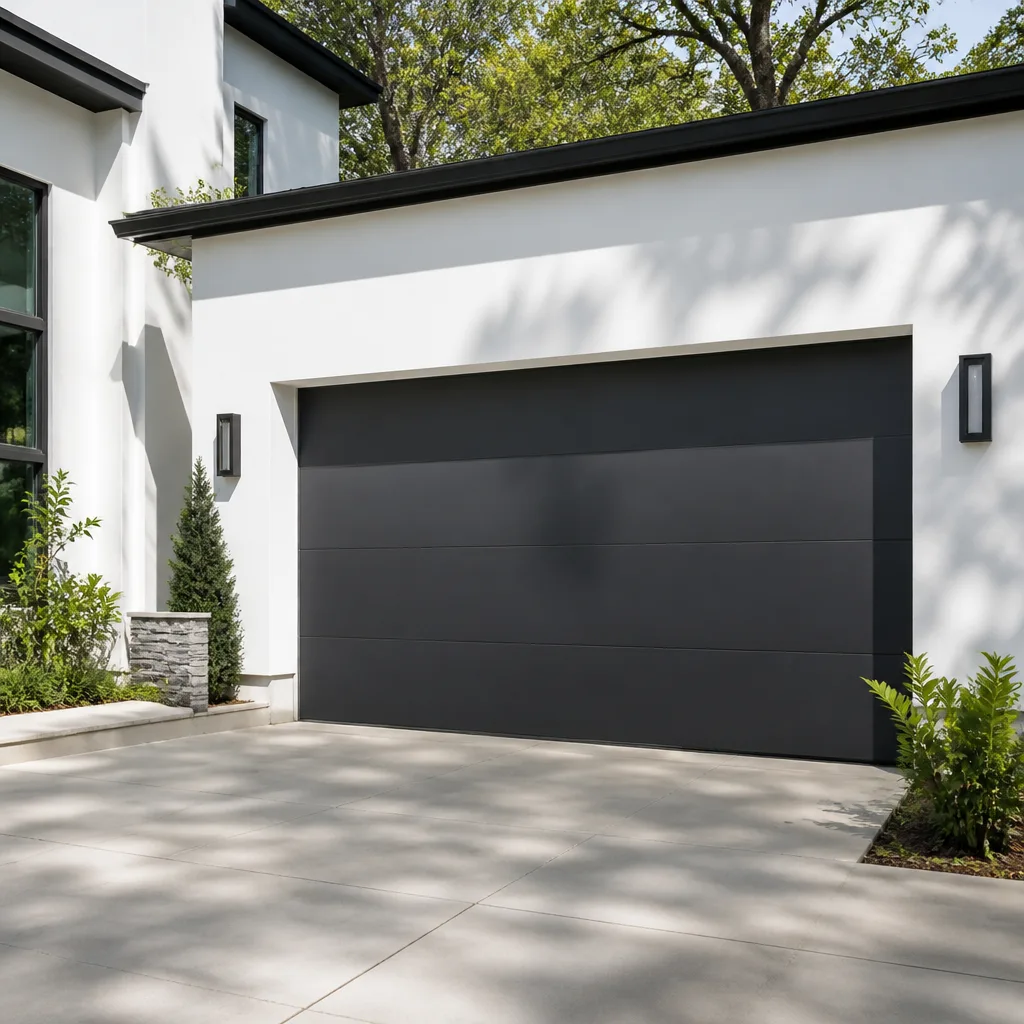 Modern flush
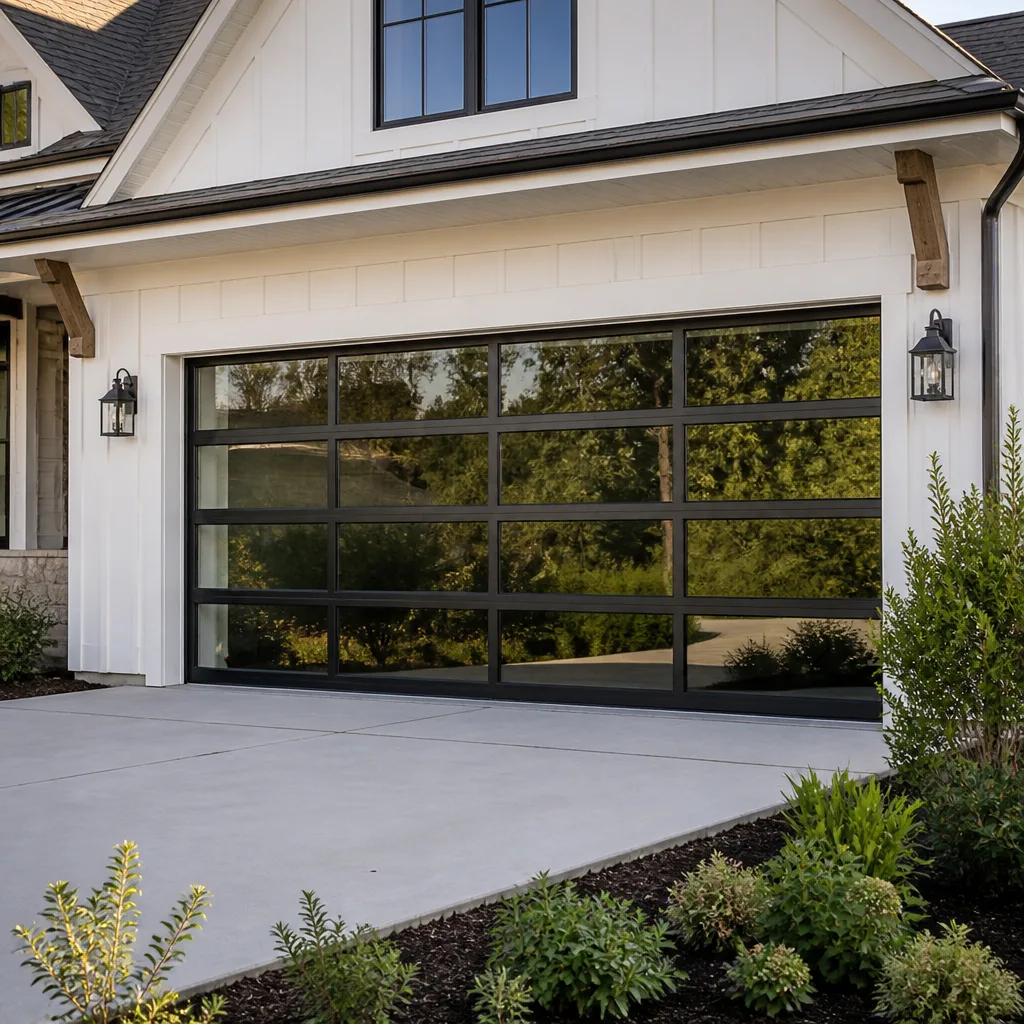 Full-view glass
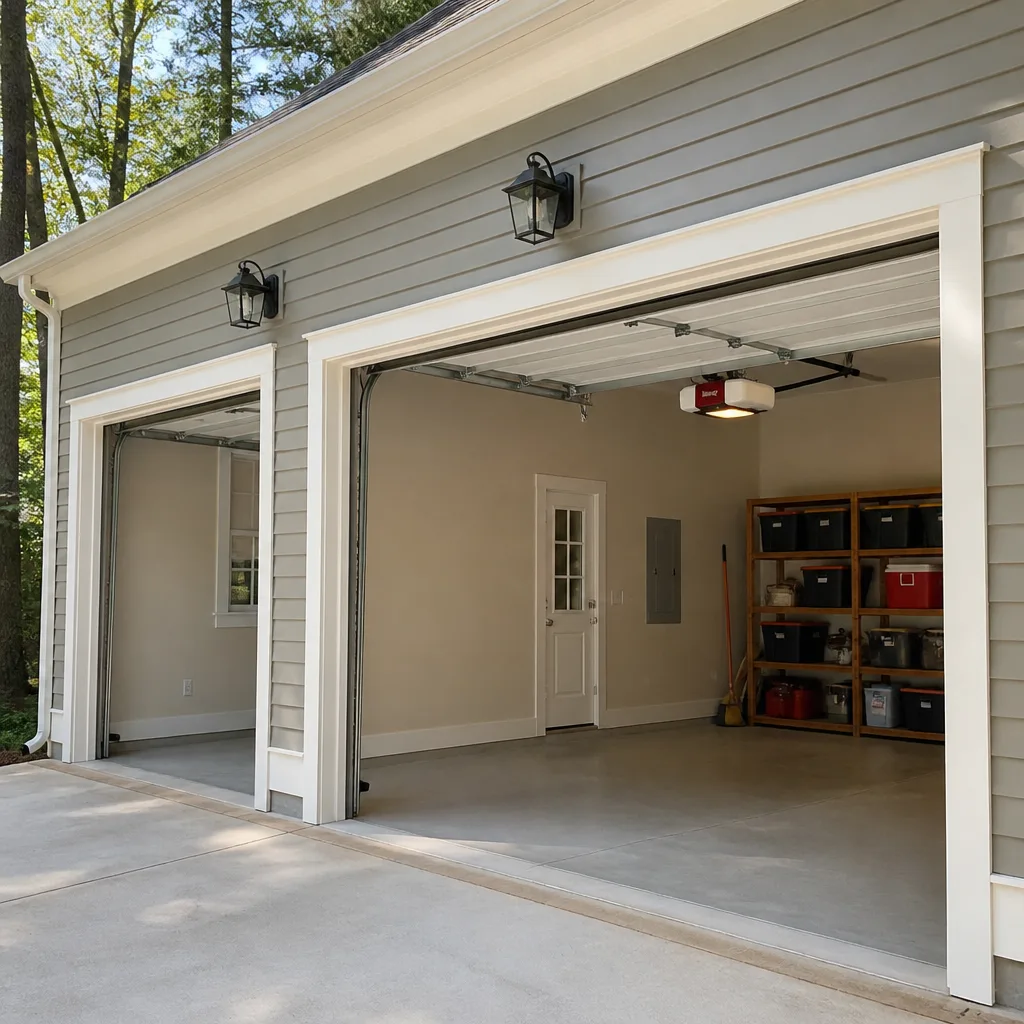 LiftMaster openers
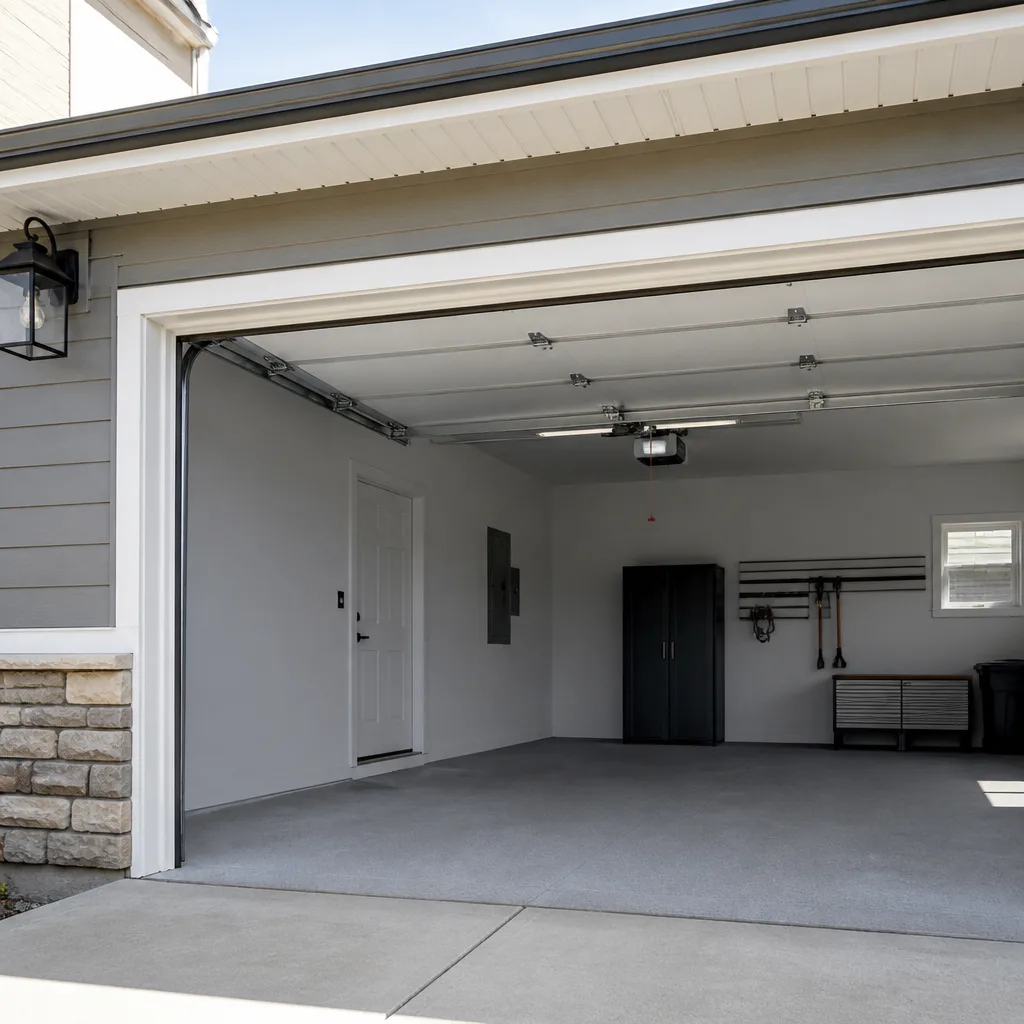 Chamberlain openers
Full 25-point door and opener safety check with every visit - springs, cables, rollers, tracks, and your LiftMaster or Chamberlain opener included
You get a price before we start. It does not change when the pro arrives.
Get your free estimateGarage Door Repair Maintenance Checklist for Federal Way Homeowners
Most garage door advice is written for a climate that doesn’t exist here. Ten-point checklists copied across the internet tell you to lubricate moving parts and call it a day, without ranking what actually fails first in a wet Pacific Northwest winter. In our experience across Federal Way, the failures stack up in a predictable order: springs that went dry, rollers that seized, seals that separated when the concrete shifted, and openers whose safety reverse was never tested once. This guide ranks every task by how often it actually causes a breakdown here, tells you which checks you can handle yourself, and flags the ones that belong in a technician’s hands. You’ll finish with a checklist built for Federal Way homes, not a template.
Quick Answer
A garage door maintenance checklist for Federal Way should rank tasks by local failure frequency: lubricate the torsion spring coils, roller bearings, and cable drums first (never with WD-40), inspect the bottom seal for uneven compression caused by settling concrete, test the opener’s reversal and force settings annually, and examine weatherstripping each fall before the rainy season. Handle lubrication, visual inspection, and safety testing yourself. Leave spring adjustment, cable work, and any panel or track repair to a trained technician.
Styles & brands we work with
- Raised-panel steel
- Carriage house
- Modern flush
- Full-view glass
- LiftMaster openers
- Chamberlain openers
Table of Contents
- 1. Springs First: The Check That Prevents Most Winter Breakdowns
- 2. Lubrication Points Ranked by Failure Risk
- 3. Testing Your Bottom Seal Against Settling Concrete
- 4. The Reversal Test and Force Test Most Homeowners Skip
- 5. Weatherstripping: Cracked vs. Compressed vs. Separated
- 6. Rollers, Tracks, and Hardware: What to Inspect and When
- 7. Your Task-by-Task Checklist: DIY vs. Call a Technician
- 8. When to Run Each Check in Federal Way
1. Springs First: The Check That Prevents Most Winter Breakdowns
Torsion springs do the heavy lifting on almost every door in Federal Way, and they fail more often than any other component. A dry spring doesn’t announce itself. It simply winds and unwinds thousands of times through the wet months with no lubrication between the coils, and metal on metal wears faster than most homeowners realize. By the time you hear the bang, the spring has already snapped.
The check itself is simple. With the door closed, look at the spring mounted on the shaft above the door. You’re looking for two things: visible rust or dark powder between the coils, and gaps or a visible break. A spring that looks chalky, pitted, or dusty is a spring that’s asking for grease. Look at both springs if you have a pair – one failing usually means the other is close behind, which is why matched pairs get replaced together.
Here’s the part most checklists get wrong: you can lubricate a torsion spring, but you cannot adjust one. Winding and unwinding springs stores enough energy to cause serious injury, and a spring under tension can release without warning. Never attempt to loosen, tighten, or replace a spring yourself. If you see rust, gaps, or a visible break, that’s a call, not a project. Our garage-door-spring-repair-federal-way team handles this exact job and can tell you over the phone whether a pair is likely due.
What a spring check actually involves
- Close the door fully and step back. Look at the torsion shaft above the door.
- Check both springs for rust, chalky residue, or powder between the coils.
- Look for a visible gap or break in either spring.
- Listen for a light creak or pop when you open the door; that sound often precedes a failure.
- If anything looks off, stop operating the door and call for an inspection.
2. Lubrication Points Ranked by Failure Risk
Every guide says “lubricate moving parts.” That’s useless advice because not every moving part matters equally, and some products make things worse. Rank your time by this order.
Rank 1: Torsion spring coils
Highest risk, highest payoff. A light coat of white lithium grease or a silicone-based garage door lubricant between the coils reduces friction and slows corrosion. This is the single most important task on the checklist because a failed spring takes the whole door out of service.
Rank 2: Roller bearings and stems
Each roller has a stem that sits in a hinge, and each roller rides in a track. Seized rollers cause the door to grind, jump, and eventually bind. A few drops of lubricant on the bearing of each roller, and one spray on each hinge pivot, keeps the door quiet and moving smoothly. Rollers degrade faster in wet climates, so in Federal Way this check earns its place near the top.
Rank 3: Cable drums and cables
Lubricate the drum housing lightly, never the cable itself. Cables under tension are dangerous to touch, and a frayed cable is a stop-operating-now situation. Look for rust, fraying, or slack on either side of the drum. If a cable looks damaged, do not run the door. Call for help. Cable and spring work is the riskiest part of the whole system, and our technicians handle it because Garage Door Repair Federal Way Pros focuses on these jobs specifically rather than treating garage doors as a side task.
What not to use
- WD-40 (the standard spray can): it’s a solvent and light oil blend, not a lubricant built for metal-on-metal under load. It evaporates, attracts dust, and can wash away the grease already there. It accelerates wear on springs and rollers.
- Cooking spray or household oil: not designed for the load or the outdoor conditions.
- Heavy axle grease: too thick for the tight tolerance on roller bearings and hinges; it collects grit.
Stick with a purpose-made garage door lubricant or white lithium grease. It takes a few minutes and costs less than a can of paint.
3. Testing Your Bottom Seal Against Settling Concrete
The bottom seal is the rubber strip under the door that keeps weather, water, and pests out. In Federal Way, cold winters, wet springs, and years of soil movement under driveways and foundations can shift a slab just enough to leave one corner of the door a finger-width above the ground. The seal still looks intact, but it isn’t sealing.
Here’s how to test it without guessing.
- Close the door fully and stand outside, facing the door.
- Look along the bottom edge in good light. Gaps show up as bright slices where daylight passes under the seal.
- Check each corner separately; settling is rarely perfectly even, and one corner is usually worse.
- Slide a piece of paper under the seal at several points. If it slides in easily at a corner but not in the middle, that corner is losing its seal.
- If you have a wet day, look for water lines on the apron after the door has been closed through a rain.
What cracked, compressed, and separated mean
- Cracked: the rubber has dried and split. It’s still touching the concrete but no longer sealing. Plan to replace the seal.
- Compressed: the seal has flattened from years of contact and no longer springs back. It’s touching but not forming a tight line. A replacement seal restores contact; sometimes a slightly thicker seal is the right fix.
- Separated: the seal has pulled away from the door bottom or from the concrete at one or more points. Water and pests get in here. This one is not a wait-and-see.
Replacing a bottom seal is generally a homeowner-possible task if the gap is cosmetic. If the door is consistently uneven along the bottom, that usually points to a track or spring issue rather than a worn seal, and it’s worth an inspection.
4. The Reversal Test and Force Test Most Homeowners Skip
This is the section almost nobody reads. It’s also the one that matters most for the people who live in your house. Every garage door opener sold in the US has safety reverse built in, and the standards behind it call for those settings to be tested as part of routine maintenance. Most homeowners never test them after the day the door was installed.
How to test the reversal feature
The reversal setting controls what happens when the door meets an obstruction while closing. If it’s misadjusted, the door can keep pressing down on anything in its path. To test it:
- Open the door, then close it and watch the trip.
- On most openers, place a solid object like a 2×4 flat on the floor in the middle of the opening.
- Close the door with the wall-mounted control. When the door meets the object, it should reverse and return to open.
- If it stops and holds pressure on the object instead of reversing, the setting needs adjustment.
- Fewer than two inches of contact tells you the adjustment is too sensitive and needs a tweak.
How to test the force setting
The force setting controls how much pressure the opener uses to move the door. Test it the way most opener manuals describe: with the door open, grab the bottom edge lightly while the door is moving down, and confirm it reverses. If you can’t easily trigger the reversal, the force is set too high.
Adjusting these settings is doable if you follow your opener’s manual carefully. If you’re unsure, stop and call. LiftMaster, Chamberlain, Genie, and Craftsman openers all use the same safety principle but adjust differently, and the wrong adjustment can create a hazard instead of removing one. Our garage-door-opener-repair-federal-way technicians test and set these every day across every major opener brand.
A note for anyone with a Wayne Dalton or older legacy opener: the adjustment screws are often less intuitive on older models, and the manual may not match the unit. When in doubt, call it in.
5. Weatherstripping: Cracked vs. Compressed vs. Separated
Weatherstripping on a garage door means the rubber or vinyl seals around the door’s sides and top, not the bottom seal. In a high-rainfall climate, these take constant abuse. Inspect them once each fall before the wet season and once in spring, because a small split in November can become a large leak by January.
How to read what you find
- Cracked: the seal shows small splits or fine lines. Water can pass through. Replacement is due, and the job is usually homeowner-possible if it’s side seals.
- Compressed: the seal has flattened where the door contacts it, so it sits tight against the door but no longer forms a seal. In Federal Way, where rain blows sideways in winter storms, a compressed seal lets water reach the door panels. Replacement is the next step.
- Separated: the seal has pulled away from its track or from the door jamb. This is the worst of the three because the gap is open. Check for water staining on the jamb around the gap, and plan to reseal soon.
Cadence that actually works here
Check the seals once in late September or early October, before the rainy season, and again in March or April after the winter. Replace any seal that shows cracking or separation. For side seals, a homeowner can usually manage. For the door panel seals or anything that requires adjusting the door’s travel, call a technician.
6. Rollers, Tracks, and Hardware: What to Inspect and When
Tracks are the easy one: look for bends, kinks, or debris. A track that’s been knocked slightly out of alignment will produce a grinding or popping sound when the door moves. That’s a call. Track adjustment is not a homeowner job because a door that comes off its track or falls is a real danger.
What to look for on rollers
- Worn rollers show flat spots, chipped nylon, or a grinding sound. Nylon rollers last longer than steel in most homes; steel rollers are durable but noisier. Either way, worn rollers need replacing.
- Rollers that noise but still roll are lubricate-first. If lubrication doesn’t quiet them within a week, plan for replacement.
- Rollers that skip, bind, or hang in one part of the track mean the track or the roller is out of spec. Stop operating the door and get it inspected.
Hinges, brackets, and fasteners
Look at every hinge and bracket. A loose bolt is a quick tighten. A cracked hinge needs to be replaced before it fails. Check that the center bearing plate above the door and the spring anchor bracket are secure. Any movement in the torsion assembly is a professional call, full stop.
The opener itself
Check your opener brand and model and write it down. It’ll save you time if something fails. Belt drive is quieter than chain drive; screw drive is the loudest. If your opener seems to struggle on cold mornings or beeps without moving, the issue is often the board or the capacitor, and that’s a diagnostic visit. Our garage door repair specialists work on the brand you already have – LiftMaster, Chamberlain, Genie, Clopay, Amarr, Wayne Dalton, Craftsman, and Raynor.
7. Your Task-by-Task Checklist: DIY vs. Call a Technician
Print this or save it. Each item gets a frequency, a difficulty, and a clear designation. Do the DIY tasks, test the safety features, and call for anything that involves tension, cables, tracks, or springs.
Monthly checks (5 minutes)
- Visual pass: look at springs, cables, and tracks for anything clearly broken or bent. DIY.
- Listen: open and close once. Note grinding, popping, or rubbing you didn’t hear before. DIY.
- Reverse test: run the reversal test with a solid object in the door’s path. DIY if your manual covers it; call if not.
Quarterly checks (15 minutes)
- Lubricate the torsion springs: white lithium grease or garage door lubricant. DIY.
- Lubricate roller bearings and hinges: a few drops per point, avoid excess. DIY.
- Tighten loose bolts and hinges: snug only, don’t over-torque. DIY.
- Check bottom seal contact: daylight and paper test along the bottom edge. DIY.
- Force test on the opener: grab the door gently while closing. DIY if the manual covers your model; call if unsure.
Seasonal checks (spring and fall, 30 minutes)
- Full weatherstripping inspection: cracked, compressed, separated – label each section. DIY inspection; replacement varies.
- Photo the spring: take a clear photo of both springs now, so a future call starts from a known baseline. DIY.
- Test the manual release: pull the red handle with the door closed and confirm the door lifts freely and stays put when you let go. If it slams or drifts, the door is out of adjustment. DIY test; call for adjustment.
- Check the safety sensors: wave a hand in front of each sensor and confirm the door won’t close. DIY.
Call a technician for
- Any spring that looks broken, chalky with gaps, or noisy with rust.
- Any cable that looks frayed, loose, or slack, or any cable drum that’s moved.
- Tracks that are bent or misaligned.
- Opener adjustments you’re not confident about.
- Any time the door comes down hard, unevenly, or not at all.
- Worn rollers and sensors that fail once lubrication hasn’t fixed them.
Our technicians have up to 13 years of experience, and they run through this exact list without shortcuts. We work on Clopay and Amarr doors and Craftsman and LiftMaster openers on equal footing, so the check that starts as a look becomes a repair if one is needed.
8. When to Run Each Check in Federal Way
You can run any of these checks any time, but Federal Way has a rhythm worth matching. The rainy season runs roughly October through April, and that’s when most water intrusion and spring failures happen. The dry stretch from May to September is when homeowners notice the smaller stuff: a door that felt stiff all winter, a seal that cracked, a roller that’s a little noisy.
Here’s a sensible calendar.
- Late September: full seasonal check. Lubricate springs, rollers, and hinges. Inspect weatherstripping and bottom seal. Run the reversal and force tests. Replace anything marginal before the rain.
- December through February: monthly visual and vent checks. Don’t overlook cold-morning symptoms; a door that struggles to open in a cold snap is telling you something is close to failing.
- March or April: post-winter inspection. Look for weatherseal damage that happened during storms and any spring rust that showed up over the wet months.
- May through August: catch up on lubricant and hardware tightenings, and handle any preventive work before fall. This is also the best window for non-urgent repairs, because warm weather is easier on the door.
We dispatch Sunday through Friday, from 7am to 7pm, and we answer the phone 24/7. If you find something in the middle of the wet season and need a spring looked at, call (877) 792-6864 and we’ll tell you over the phone whether it’s urgent or can wait for the next opening.
Common Mistakes to Avoid
- Using WD-40 on the springs. It’s a solvent, not a maintenance lubricant, and it can remove the grease that’s keeping the coils from wearing against each other. It doesn’t fix spring noise; it can accelerate the problem.
- Ignoring a bottom seal that only looks slightly off. In Federal Way’s wet winters, a small gap under one corner lets water run along the slab and into the garage. A seal that fails the paper test on one side will likely fail on the other by spring.
- Never testing the safety reverse. Most homeowners test it on day one and never again. The standards behind safety reverse call for an annual check, and it takes less than a minute.
- Adjusting a spring or cable yourself. Torsion springs and cables under tension are the highest-risk parts of the system. Even a well-intentioned adjustment can release stored energy, and that’s a hospital bill waiting to happen.
- Bumping a track and not aligning it. A track knocked slightly out of alignment forces the door to work harder and can wear the rollers in weeks rather than years. Any track that’s been hit or bent needs a professional look.
- Testing the manual release and letting the door slam. If the manual release lets the door free-fall, the door is out of balance. That’s a spring or cable problem, and it needs a technician before the next operation.
- Treating the opener like a black box. Write down the brand and model number. It shortens a diagnostic call, and it prevents the wrong parts from being brought out for a repair.
See the difference
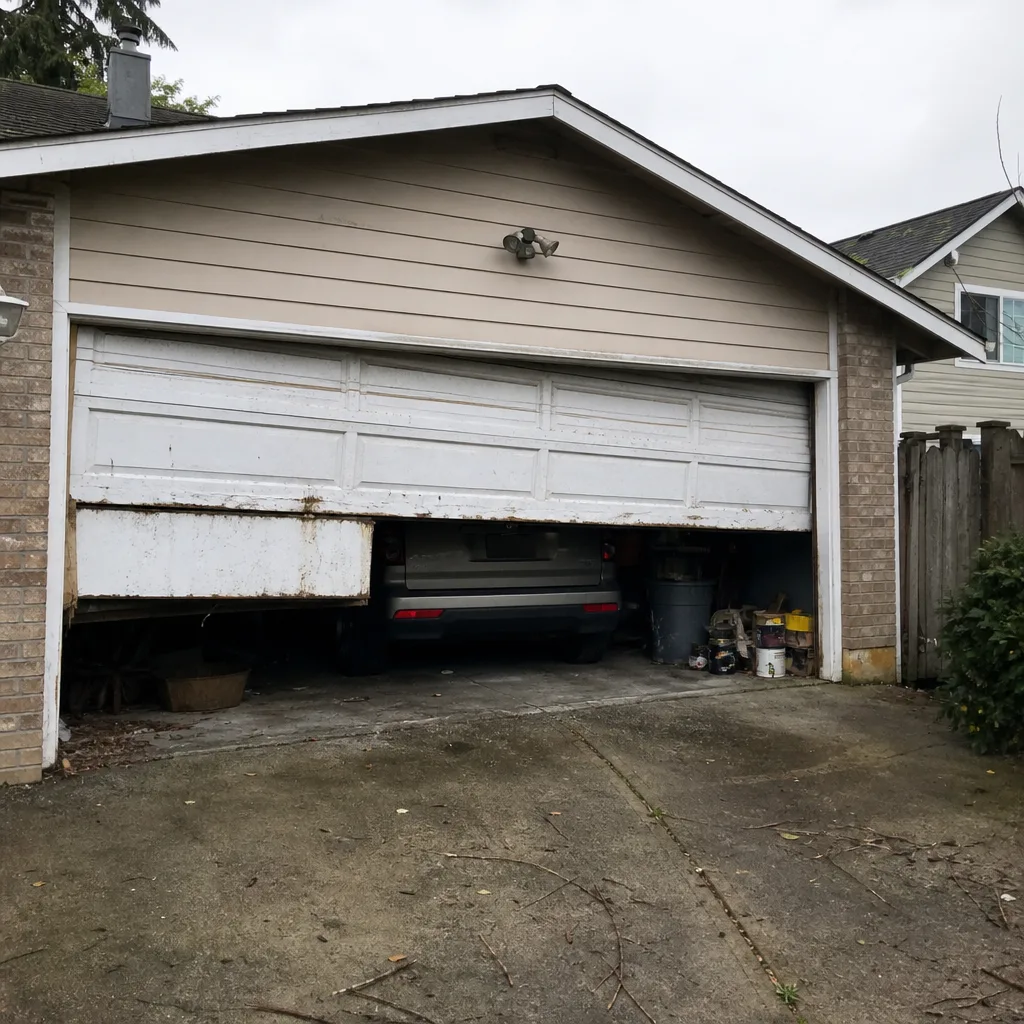 Before
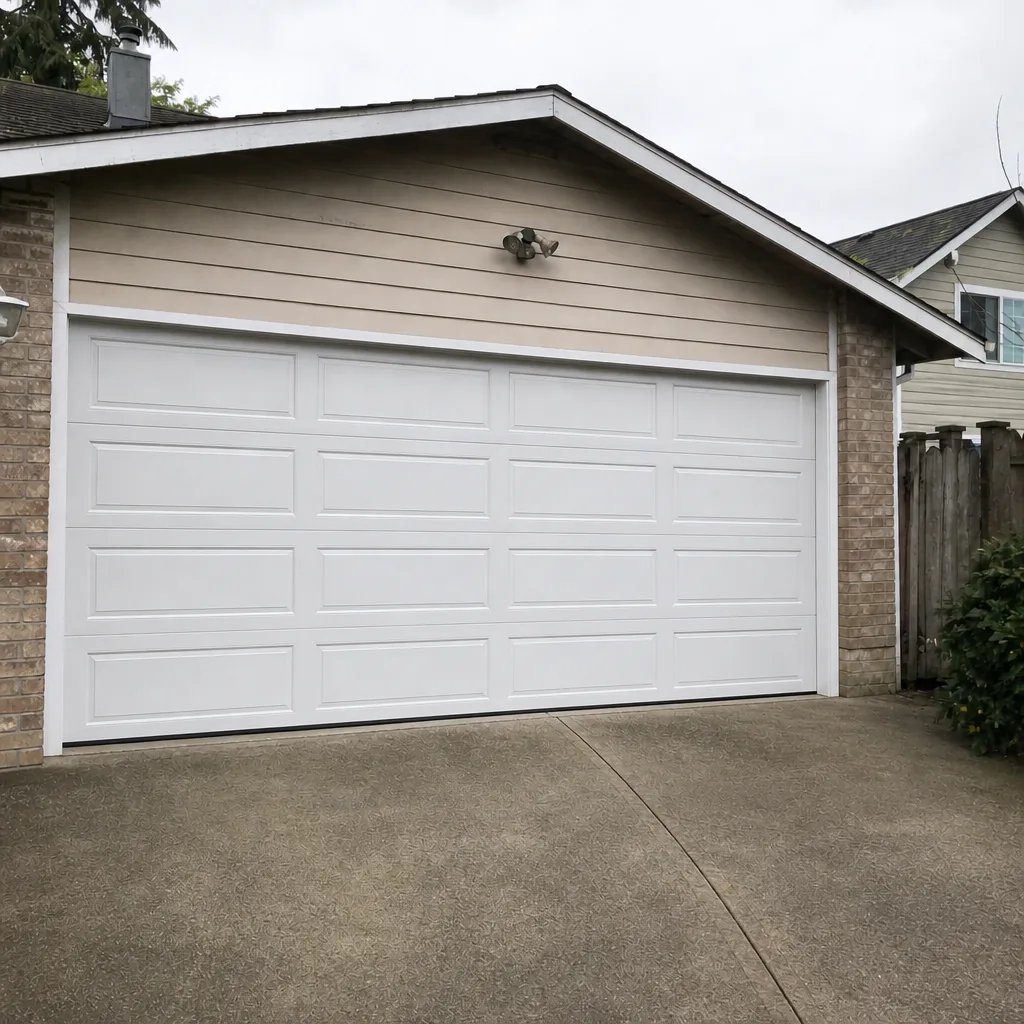 After
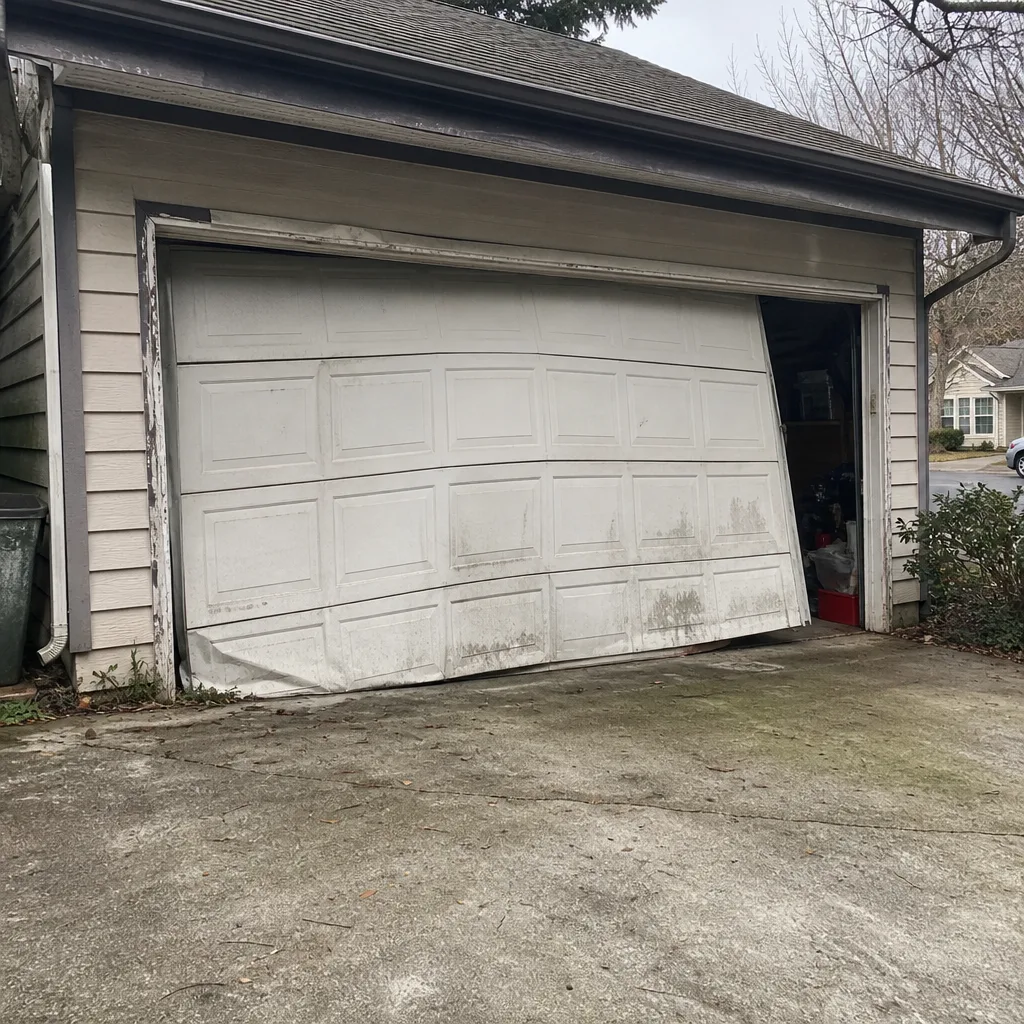 Before
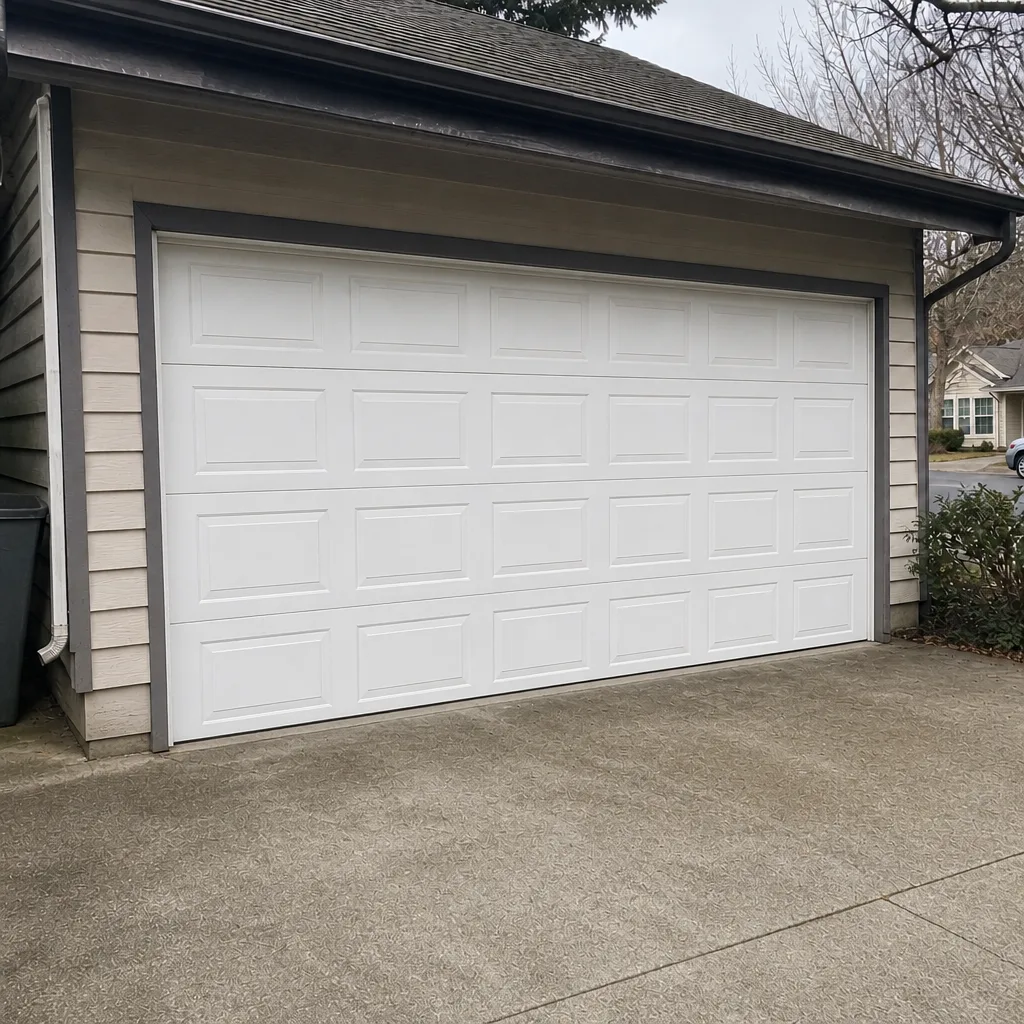 After
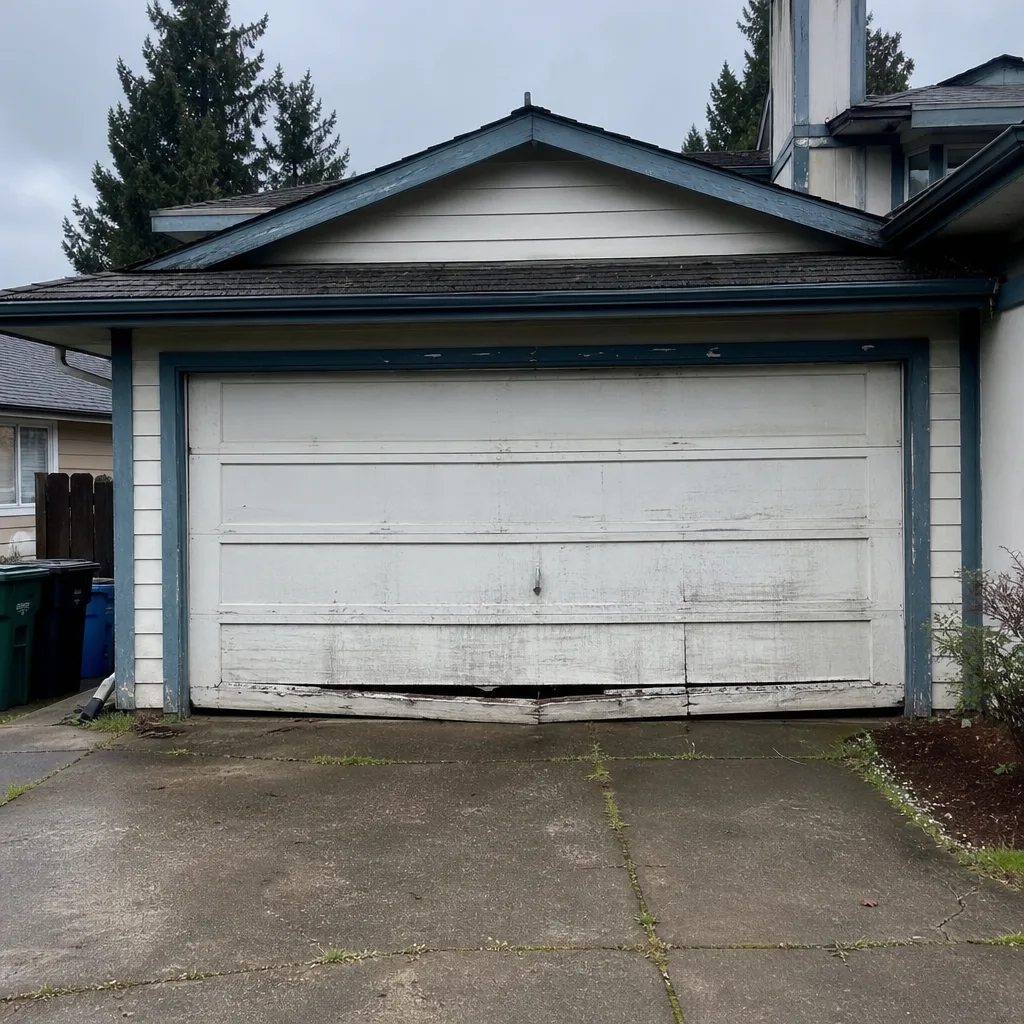 Before
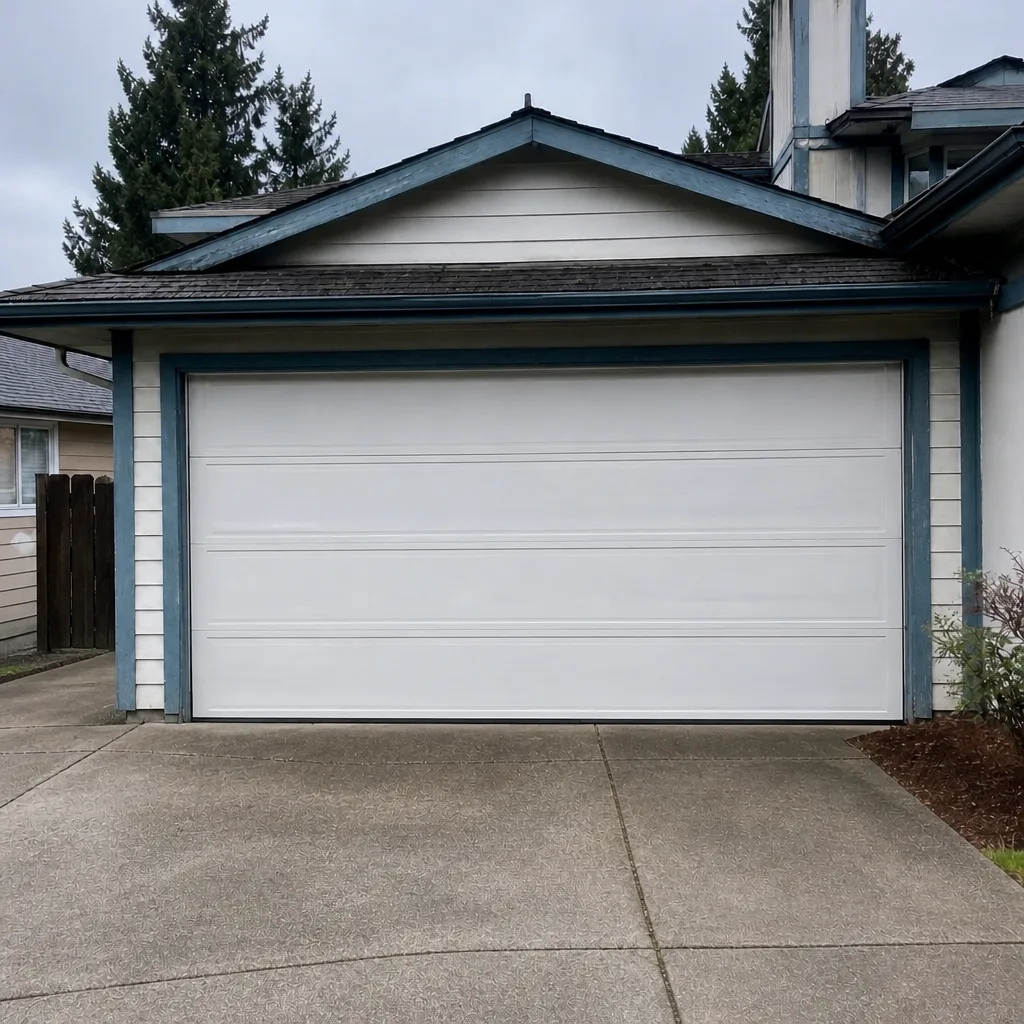 After
When to Call a Professional
Call for anything involving a torsion spring, a cable, a track that’s damaged or misaligned, or an opener adjustment you don’t understand. Call if the door comes down unevenly, on one side faster than the other, or with a bang you can hear from the driveway. Call if you can see a gap between the coils of either spring, or if a spring is visibly rusty and noisy. Call if the door stops and reverses on its own during a normal close, or if the opener beeps and will not move.
Garage Door Repair Federal Way Pros offers free estimates in Federal Way – call (877) 792-6864. We answer 24/7. Fast dispatch from 7am to 7pm, Sunday through Friday. The price is always quoted and agreed before any work starts, so the estimate you hear on the phone is the estimate you can hold us to.
Frequently Asked Questions
Every three months is a good baseline, and once in late September before the rainy season is the single most important lubrication visit of the year. White lithium grease or a garage door-specific lubricant between the coils is the right product. Never use WD-40, which is a solvent and can dry out the coils. If a spring looks chalky or dusty rather than smooth, lubricate it sooner than the schedule and check for rust. Call (877) 792-6864 if you see a gap or a break in either spring – estimates are free.
No. Torsion springs and cables store enough energy to cause serious injury when they fail, and a spring under tension can release without warning. Replacing a spring means holding the door’s full weight safely while you unwind and wind the spring to spec, and that requires tools and technique most homeowners don’t have. Lubricating a spring is a homeowner task. Anything beyond that is a technician’s job, and it’s the riskiest part of garage door work, so it’s worth doing right.
Uneven seal contact usually means the concrete under the door has settled slightly, which is common in Federal Way as soil moves with wet and dry seasons. One corner sits a finger-width higher, so the seal no longer makes contact there. If the unevenness is small and stable, a thicker seal or a seal replacement fixes it. If the door itself is off-level, that points to a spring or track problem and needs an inspection.
Place a solid object like a 2×4 flat on the ground in the middle of the door opening, then close the door with the wall control. The door should reverse and return to open when it meets the object. If it holds pressure on the object instead of reversing, the setting needs adjustment. Test it every month and adjust it annually according to your opener’s manual. For LiftMaster, Chamberlain, Genie, and Craftsman openers, the adjustment procedure differs, so call (877) 792-6864 if you’re unsure.
Cold weather stiffens the lubricant inside the rollers and hinges and can make the door noticeably louder. In Federal Way, the wet months also add humidity that can cause corrosion and rust between the coils of the springs, which adds noise. The fix is usually a late-fall lubrication pass across the springs, roller bearings, and hinges. If the noise continues after lubrication, or if the door struggles to open on cold mornings, there may be a spring or opener problem – call for an inspection.
A once-a-year professional inspection is worthwhile even for a careful homeowner, because a technician can spot spring fatigue, track wear, and opener issues that a visual check misses. The checks you can do yourself – lubrication, seal testing, and reversal tests – cover most of the routine work. Professional eyes go on the high-risk parts: springs, cables, and the torsion assembly. Between the two, you get a full picture. Call (877) 792-6864 for a free estimate if you’d like a technician to inspect or repair anything on this list.
The Bottom Line
A garage door maintenance checklist is only useful if it’s ranked by what actually fails first where you live. In Federal Way, that means springs, then roller bearings, then bottom seals and weatherstripping, and always the safety reverse test. Lubricate the springs and rollers with the right product (never WD-40), test the reverse and force settings every month, and inspect seals each fall before the wet season. Handle the DIY items yourself. Call for anything involving tension, cables, tracks, or springs. Do that, and most garage door calls never happen. For everything else, our technicians are ready.
Whether you’re midway through this checklist or you already know something needs fixing, call (877) 792-6864 for a free estimate. We answer 24/7. Fast dispatch from 7am to 7pm, Sunday through Friday. The price is always quoted and agreed before any work starts, so you know the number before the door gets touched.
Written by the team at Garage Door Repair Federal Way Pros.